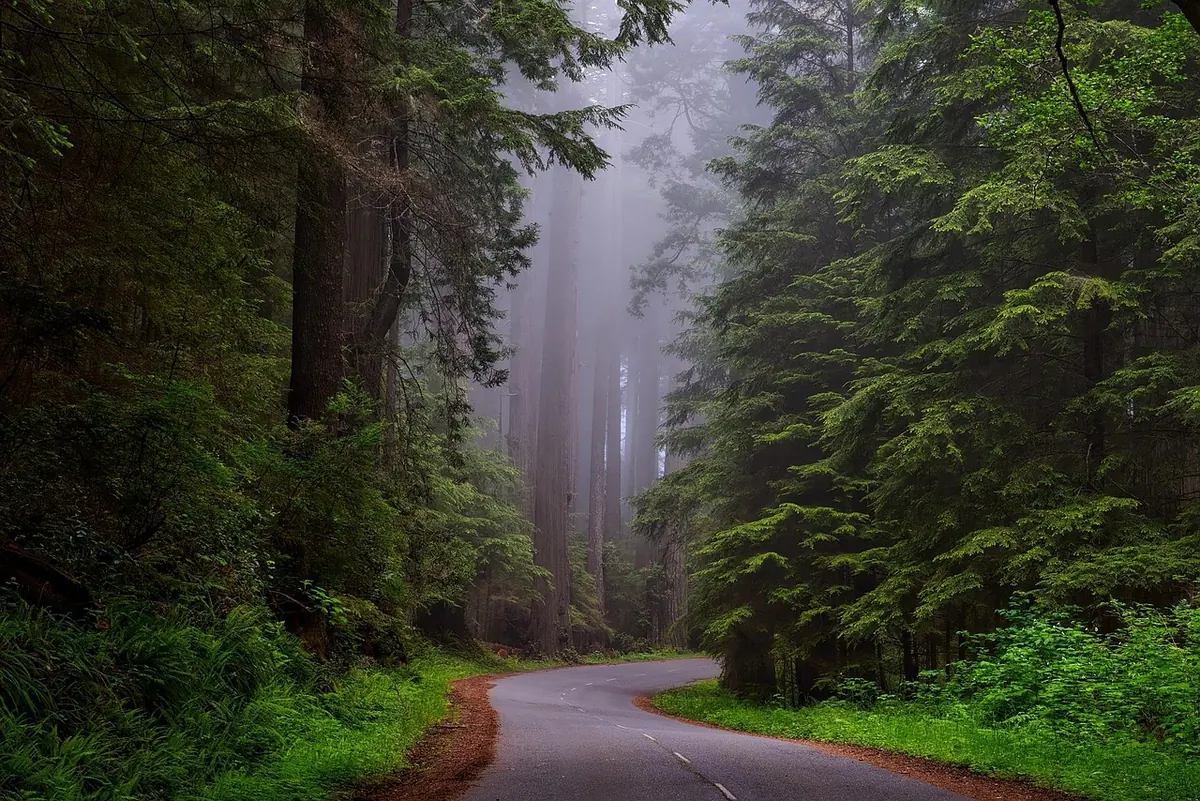
Fog does something no filter can manage. It strips a scene back to shapes and tones, hides the clutter, and turns an ordinary street, woodland or hillside into something quiet and strange. It also breaks habits you have built up in clear weather. Light meters misread it, autofocus gives up on it, and compositions that looked balanced in sunshine collapse into a grey rectangle. None of these problems is hard to fix once you know what causes them, and most of the fixes cost nothing more than a moment's thought before you press the shutter.
Fog is bright — often brighter than you think. Your camera's meter still assumes the world averages out to a mid-grey, so it looks at all that white, decides the scene is too light, and darkens it. The result is dull, grey fog with muddy highlights and a histogram bunched up on the left. Snow does the same thing, and so does a sea fret rolling in off the coast.
The fix is exposure compensation. In a scene filled with pale fog, start at +1 stop and work up towards +1.7, or even +2 if the fog is lit from behind. Check the histogram rather than the back screen; screen brightness lies to you outdoors. You want the data pushed to the right without clipping off the top.
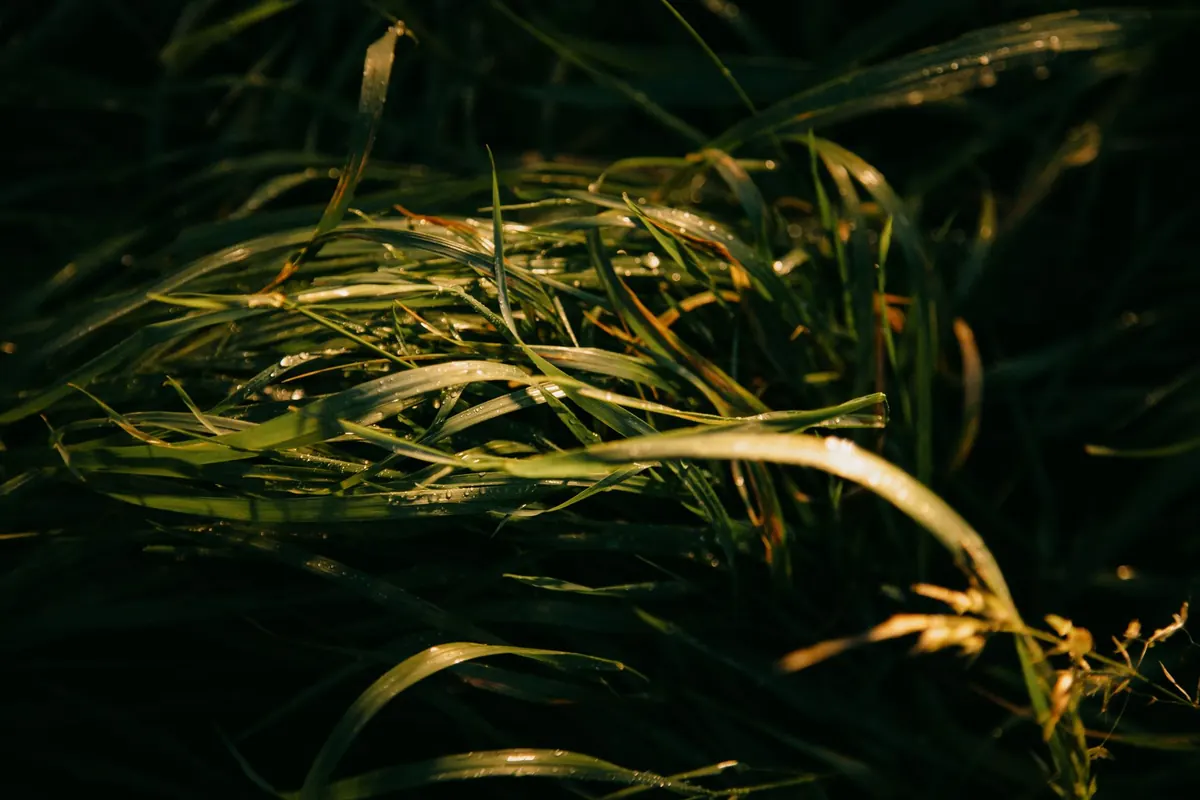
Not every foggy scene is white. Fog against dark trees at dusk, or mist sitting over a black hillside, is a low-key scene, and your meter will try to brighten it into something flat and lifeless. Here you want negative compensation, perhaps −0.7 to −1.3 stops, so the shadows stay deep and the fog reads as a soft glow rather than a grey wash.
Autofocus runs on contrast, and fog removes contrast. That is why your lens hunts back and forth, locks onto the wrong plane, or refuses to fire at all. All-points AF makes it worse: with nothing crisp in the frame, the camera picks whatever it likes, and in fog it usually picks wrong.
Use single-point AF and place the point on the nearest object with a hard edge — a fence post, a branch, a figure walking away, the corner of a building. If you are shooting a landscape, do not focus at infinity; focus roughly a third of the way into the scene and stop down to f/8 or f/11 so the near and middle distance hold together.
Manual focus is often quicker in thick fog. Switch on live view, magnify the area you care about, and focus by eye. It is slower, but it is reliable, and in fog the difference between nearly sharp and sharp is the difference between a photograph and a grey smudge.
This is the mistake that ruins more fog photographs than exposure ever will. Fog gives you a beautiful, empty canvas, and then you fill it with nothing. A wide shot of a misty field sounds atmospheric and looks like a blank wall.
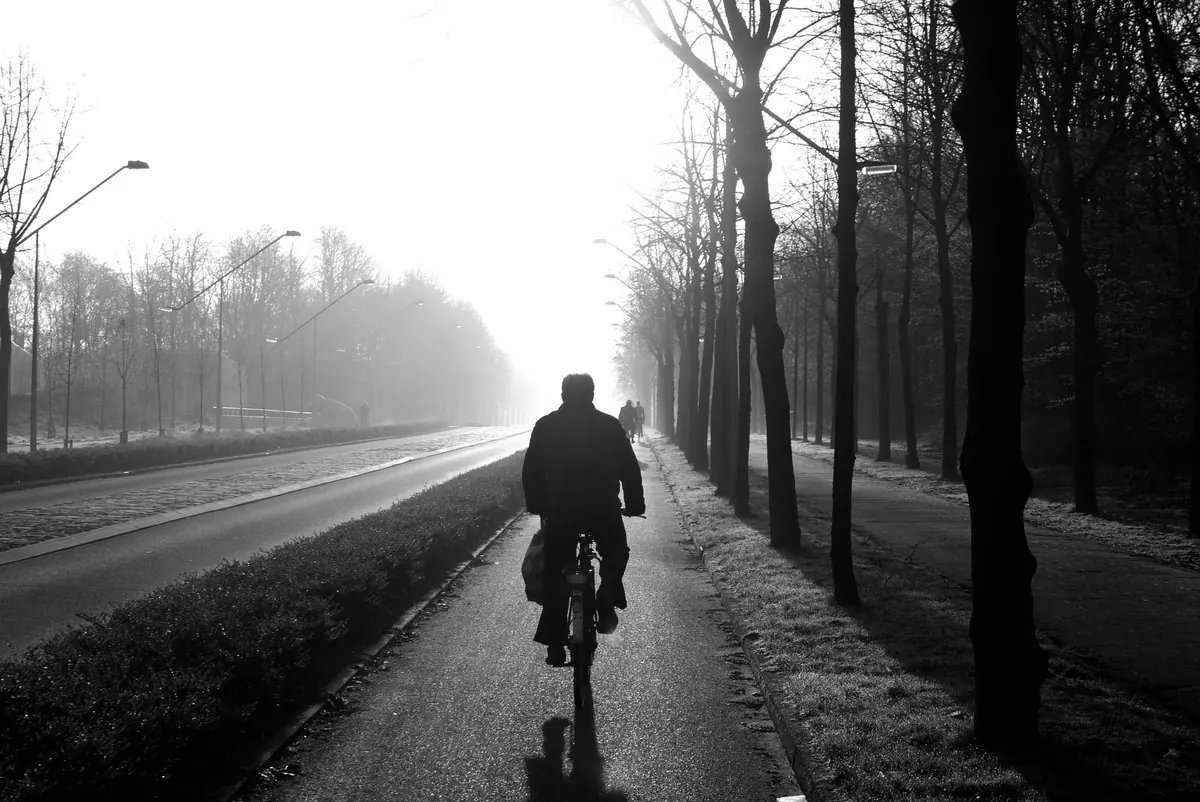
The fog is the mood; something inside it needs to be the subject. A single tree, a lamp post, a jetty, a cyclist, a rowing boat, a line of railings. Silhouettes are your best friend here, because fog gives you the clean, bright background that makes them sing.
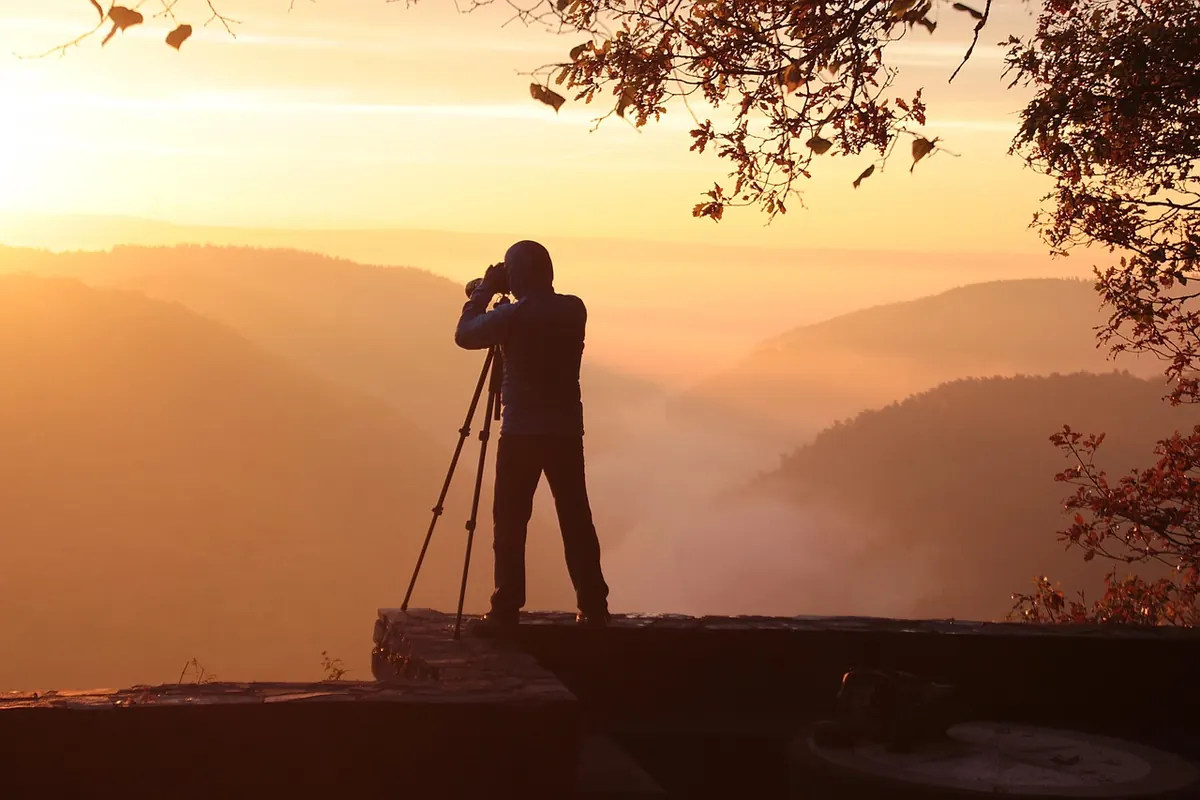
Fog is not a backdrop; it is weather, and it moves. It thickens, thins, lifts, and occasionally parts to let a shaft of sunlight through. The most interesting minutes are usually when it is just starting to burn off, or when the sun is low enough to catch the mist between trees.
Arrive before you think you need to and stay longer than feels sensible. Set up, shoot, then wait ten minutes and look again. If you are near water or in a valley, dawn is the reliable window; fog often forms overnight and clears through the morning. A walk along a river or a canal at first light will give you more chances than a whole afternoon elsewhere.
One practical detail: fog droplets settle on a front element and soften everything. A lens hood helps, and so does a cloth kept somewhere you can reach without unpacking the whole bag.
The dehaze slider is tempting and usually a mistake on genuine fog. It manufactures contrast and colour that were not in the scene, and it leaves grey-brown casts and pale halos around branches and rooflines. Your fog starts to look like an over-filtered photograph rather than mist.
Work gently instead. A soft curve to lift the mid-tones, a little selective contrast on your anchor point, and a slight warm or cool tint depending on the light will do more. Keep the blacks soft; fog scenes rarely contain true black, and forcing one in makes the image look brittle.
Two more traps: over-sharpening, which exaggerates noise in those smooth gradients, and automatic white balance, which tends to cool fog towards blue. Decide what colour you want the mist to be and set it yourself.
Fog rewards patience more than equipment. Get the exposure out of the way, give the camera something definite to focus on, and put one deliberate subject in front of all that white. The rest is just waiting for the mist to do something worth photographing.
Photo: GuentherDillingen / Pixabay